1. Important Notes
- WinNTSetup supports installing all Windows versions (XP/7/8/10/11) in both UEFI and Legacy modes
- This is the optimal solution for installing Custom or Lite Windows builds where the standard Setup.exe often fails
- For laptops with Intel 11th Gen CPUs or newer, you must download and install IRST Drivers to ensure SSD recognition and prevent Blue Screen (Inaccessible Boot Device) errors
Official Microsoft Windows download links:
2. Install Windows using WinNTSetup
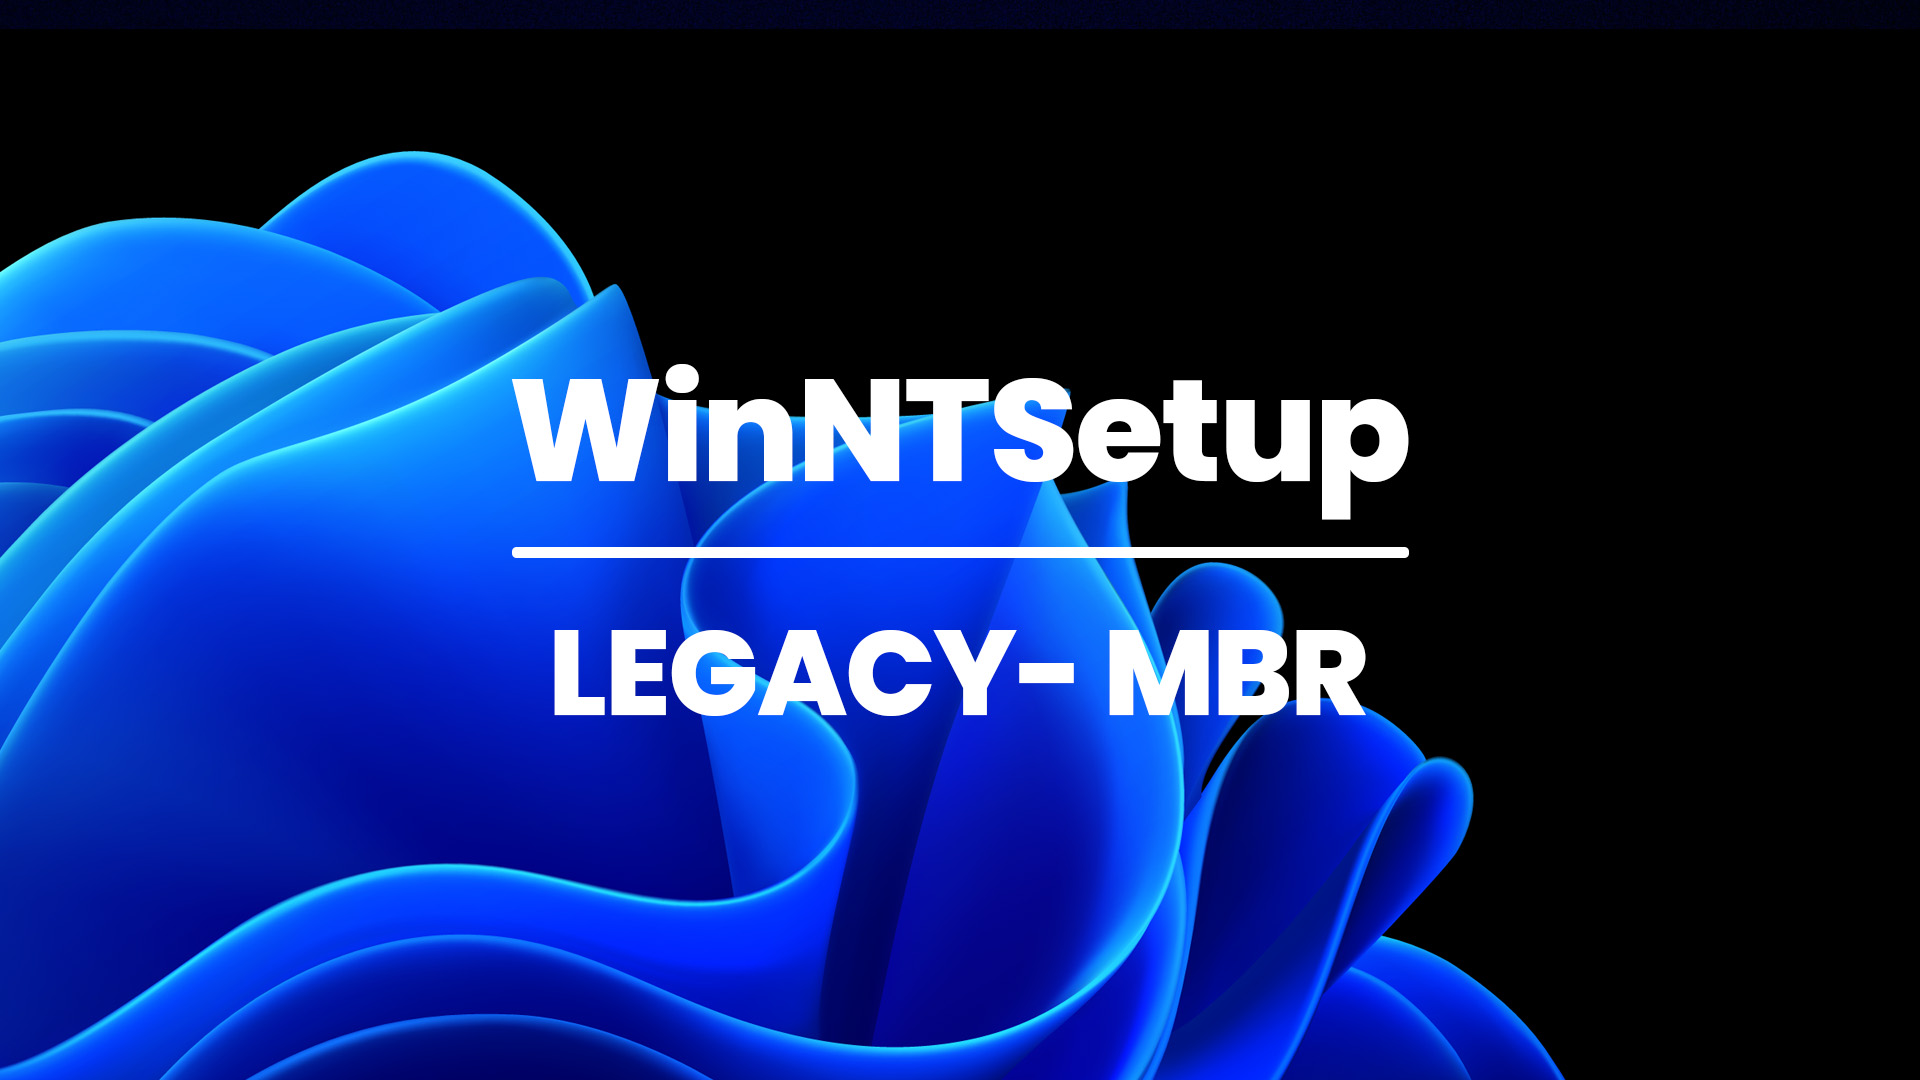
To install Windows in Legacy mode, the hard drive must be formatted as MBR (Master Boot Record)
Technical Note: Unlike UEFI mode which requires two partitions (EFI and Windows), Legacy mode only requires a single NTFS partition to store the operating system
About MBR: Introduced by IBM in 1983, MBR is compatible with all current Windows versions. However, it is limited to a maximum drive size of 2TB and supports up to 4 Primary partitions.
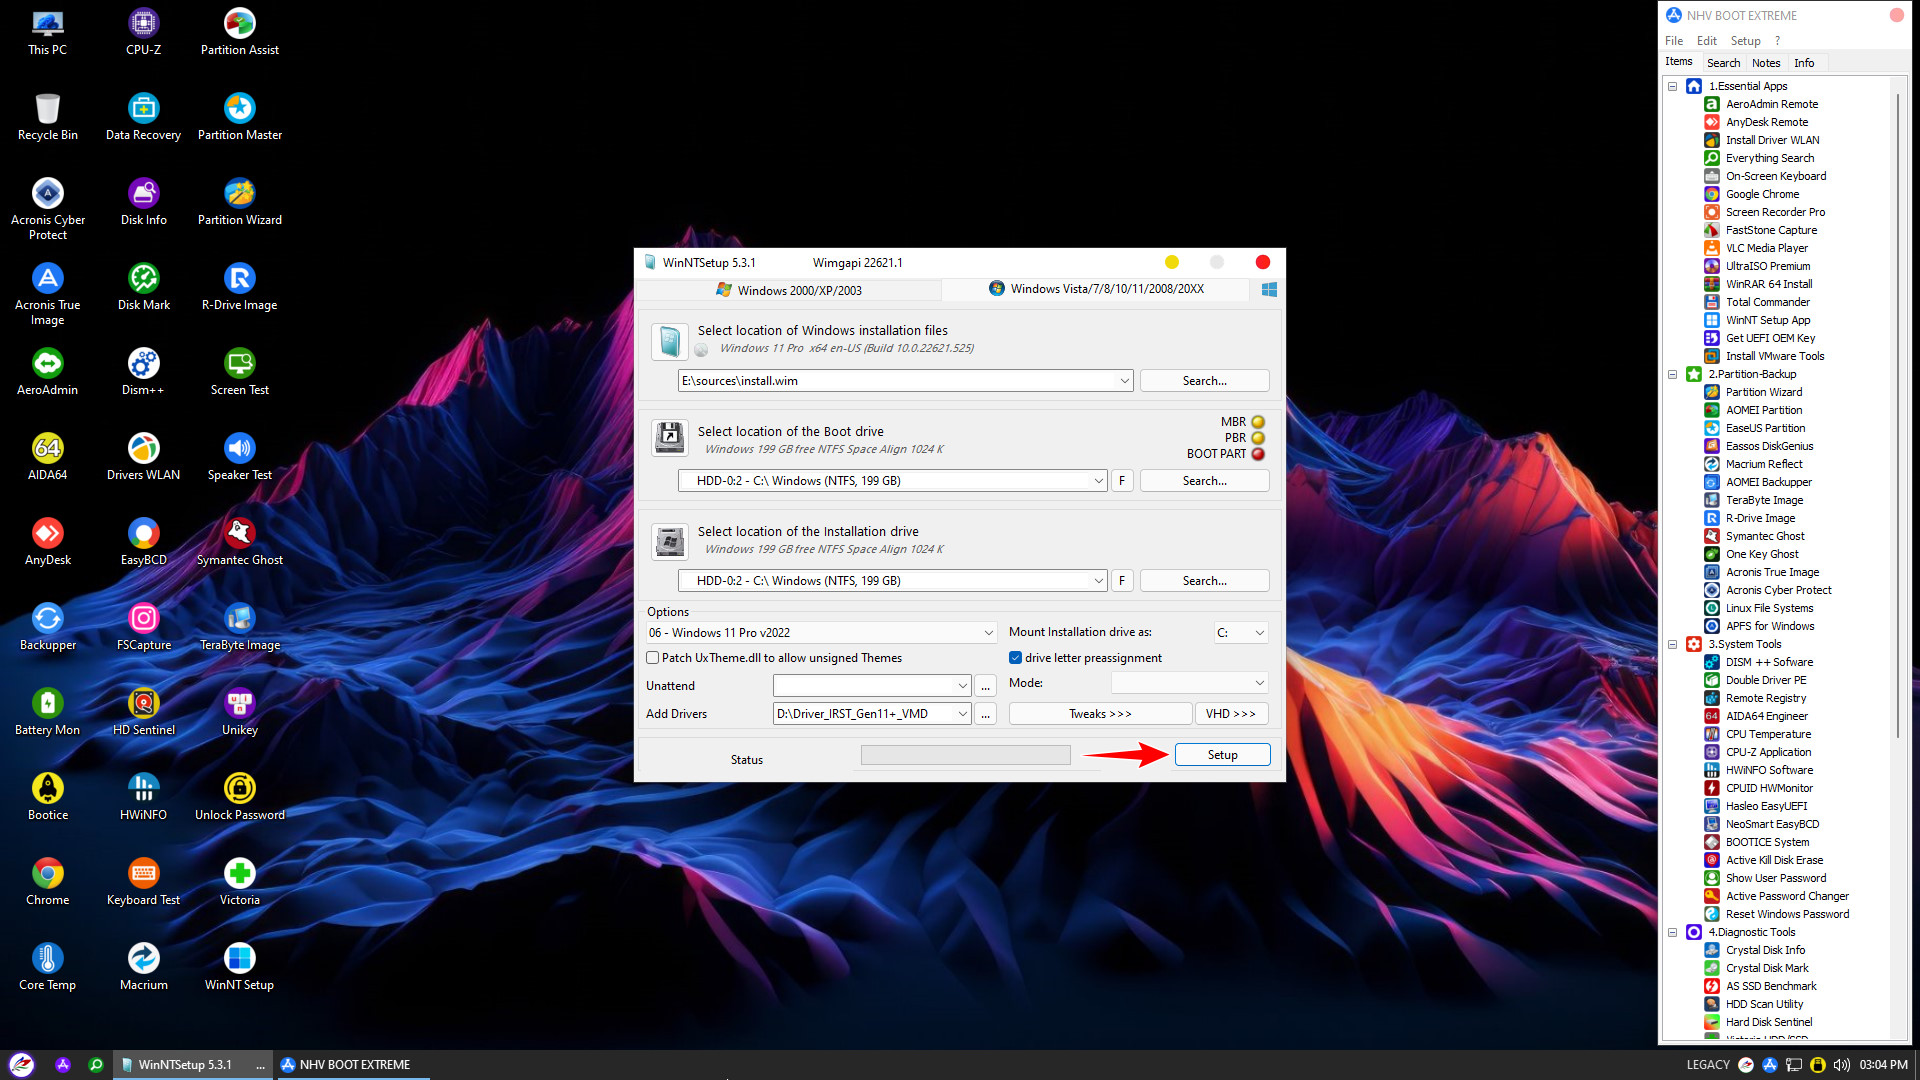
The first step is to prepare a clean storage space. From the NHV BOOT main interface, open Partition Wizard to delete the old operating system.


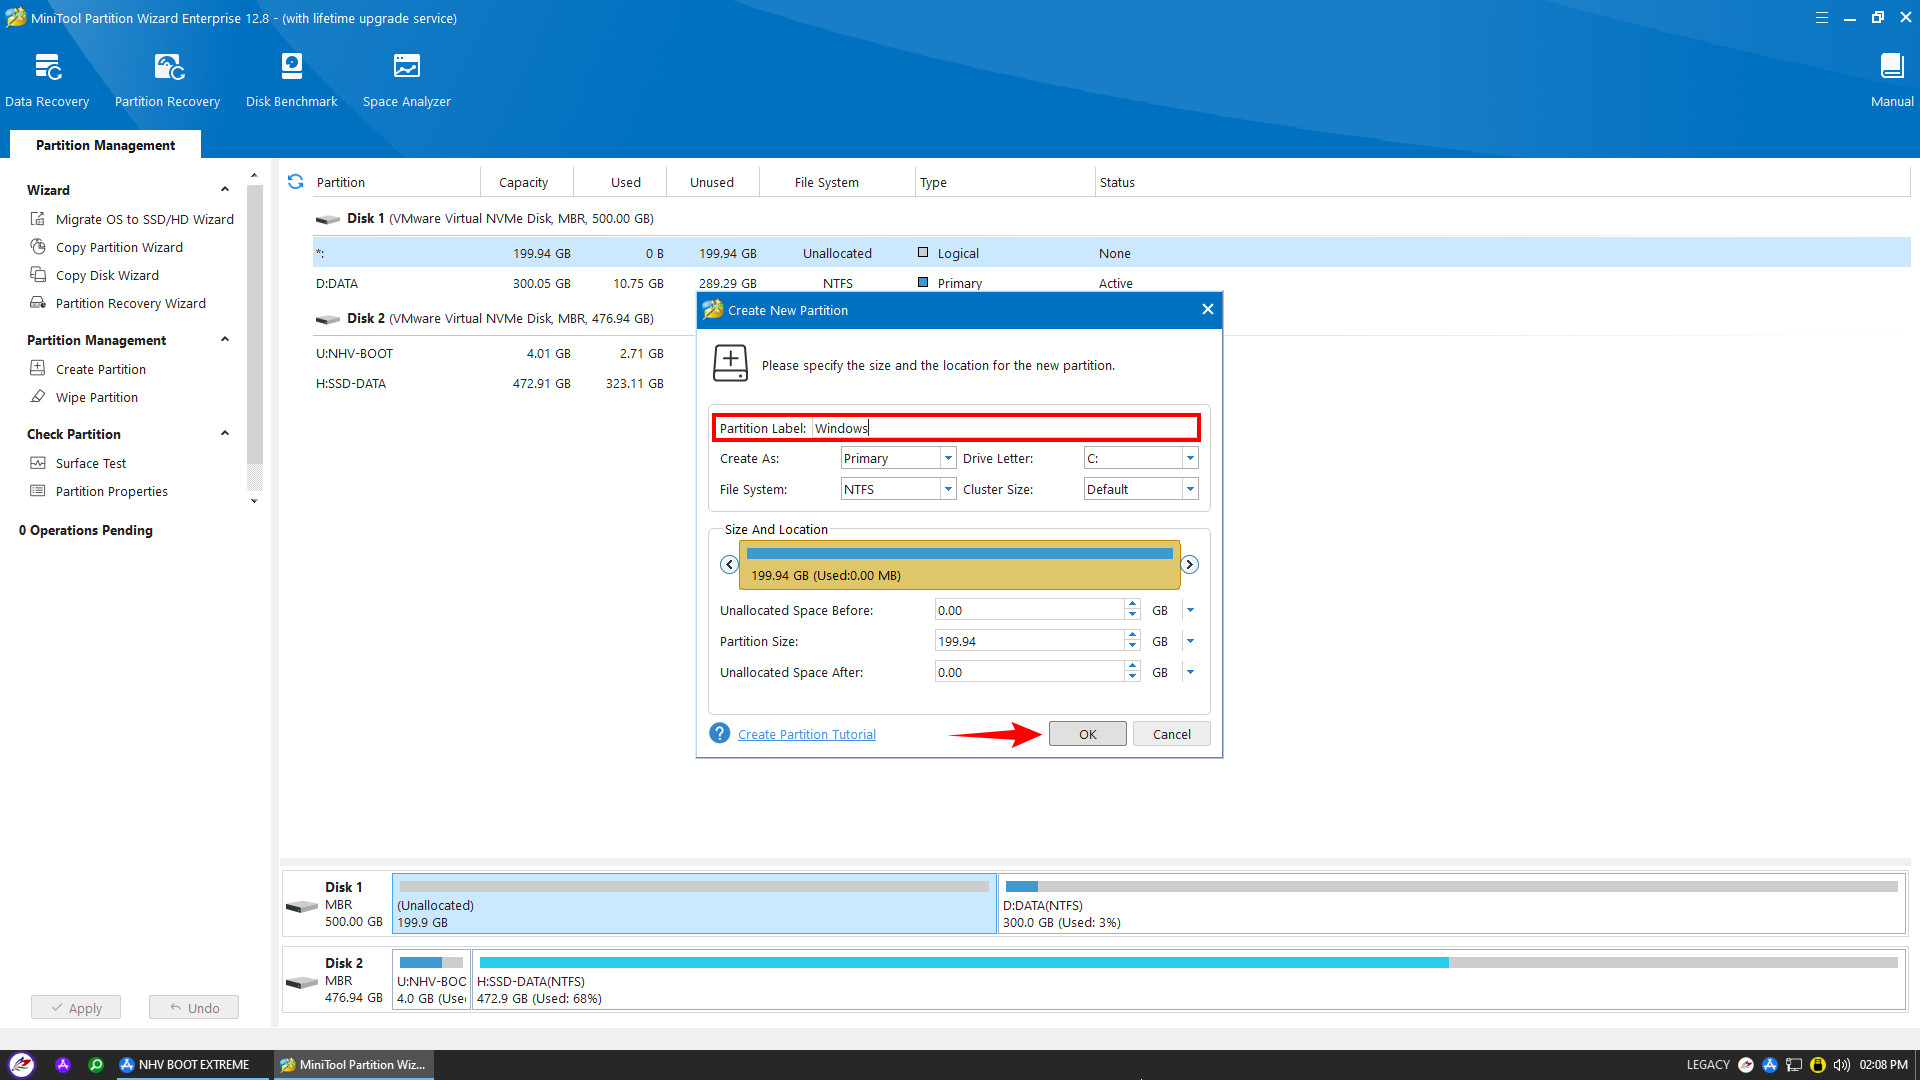

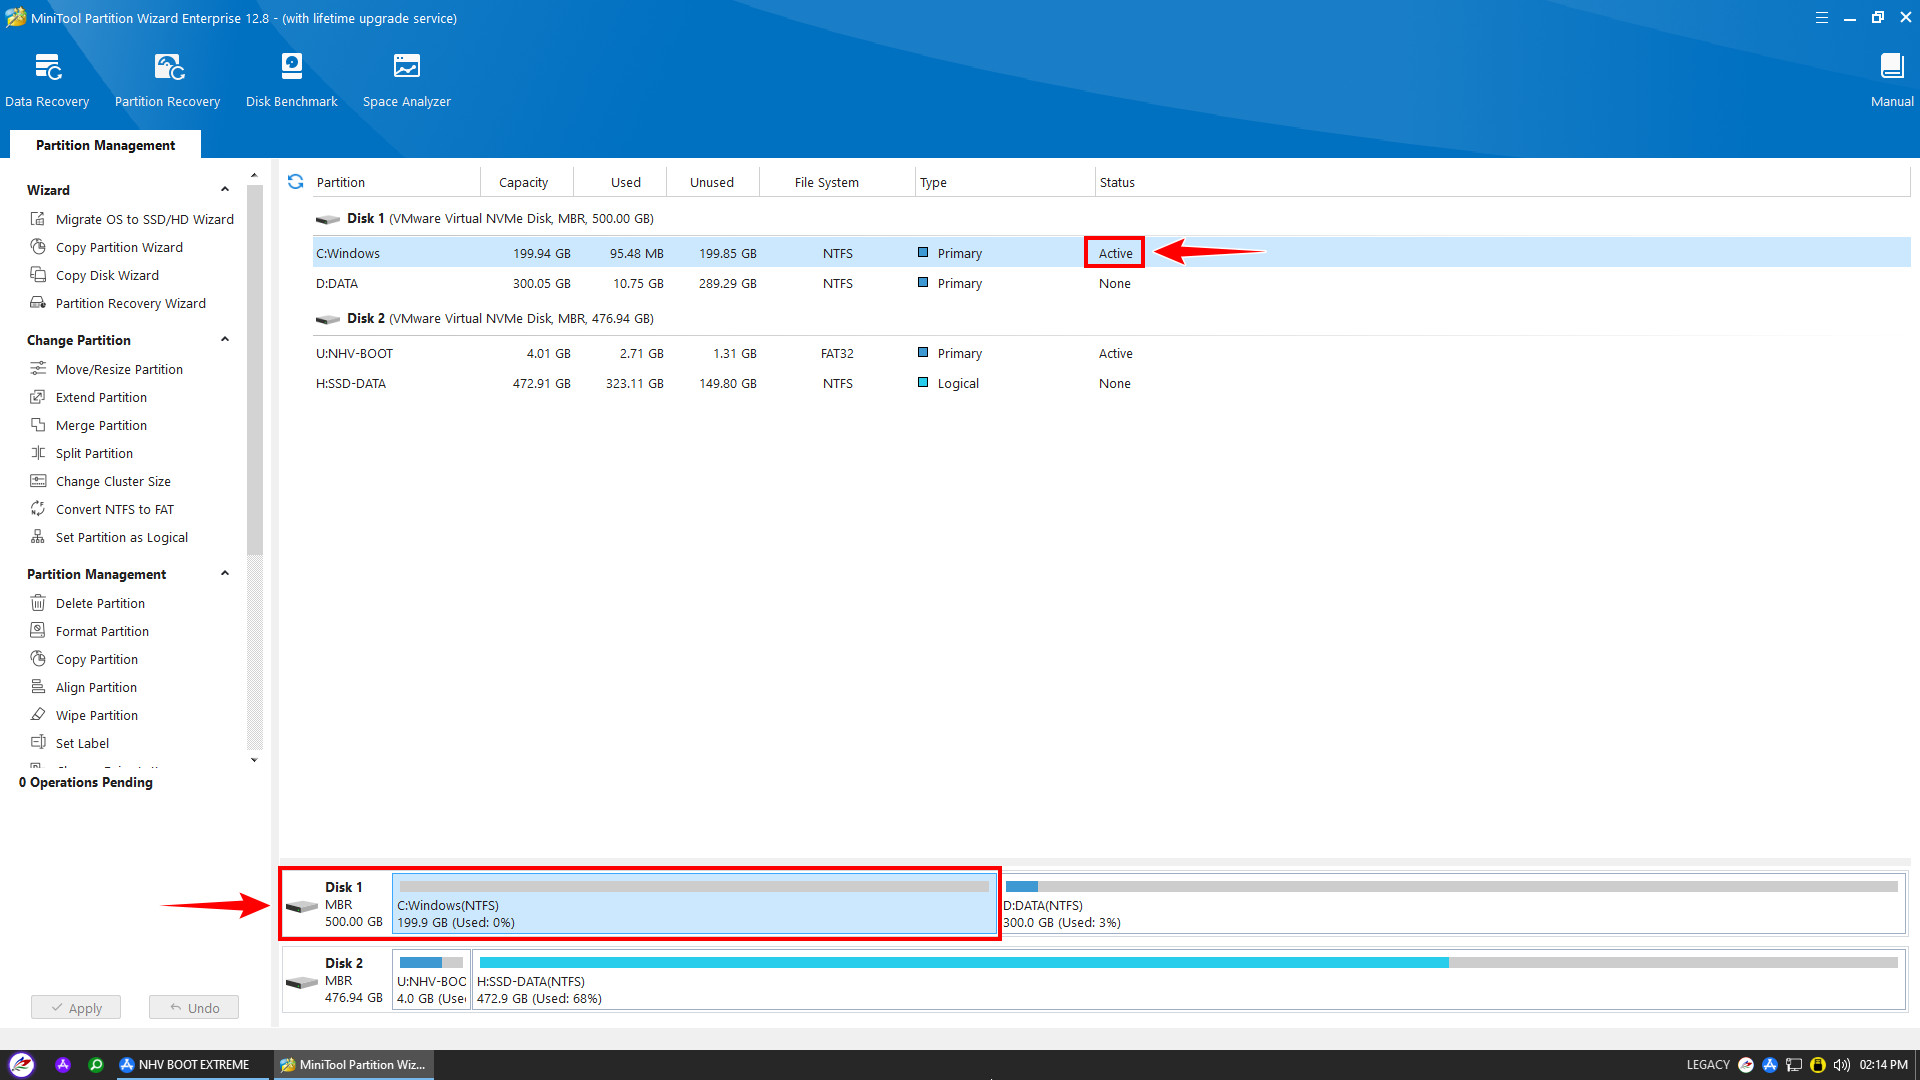
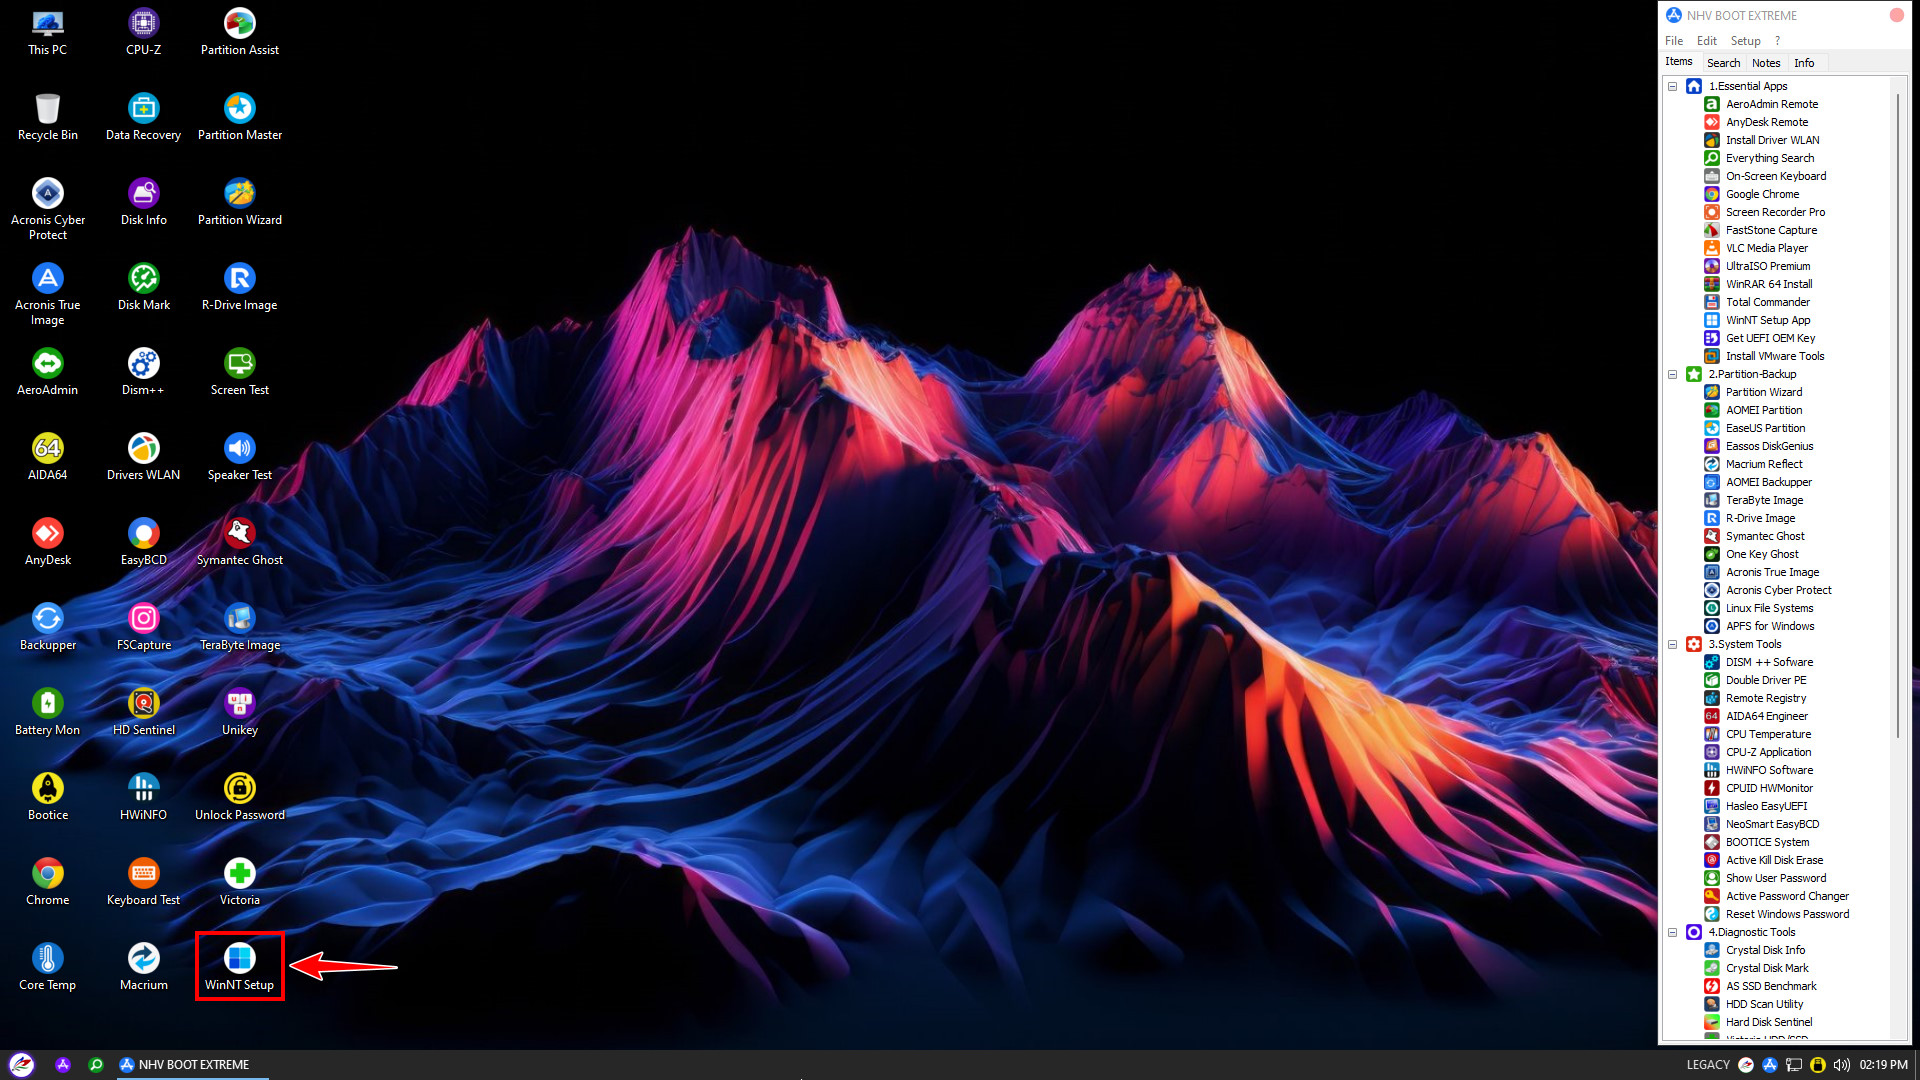
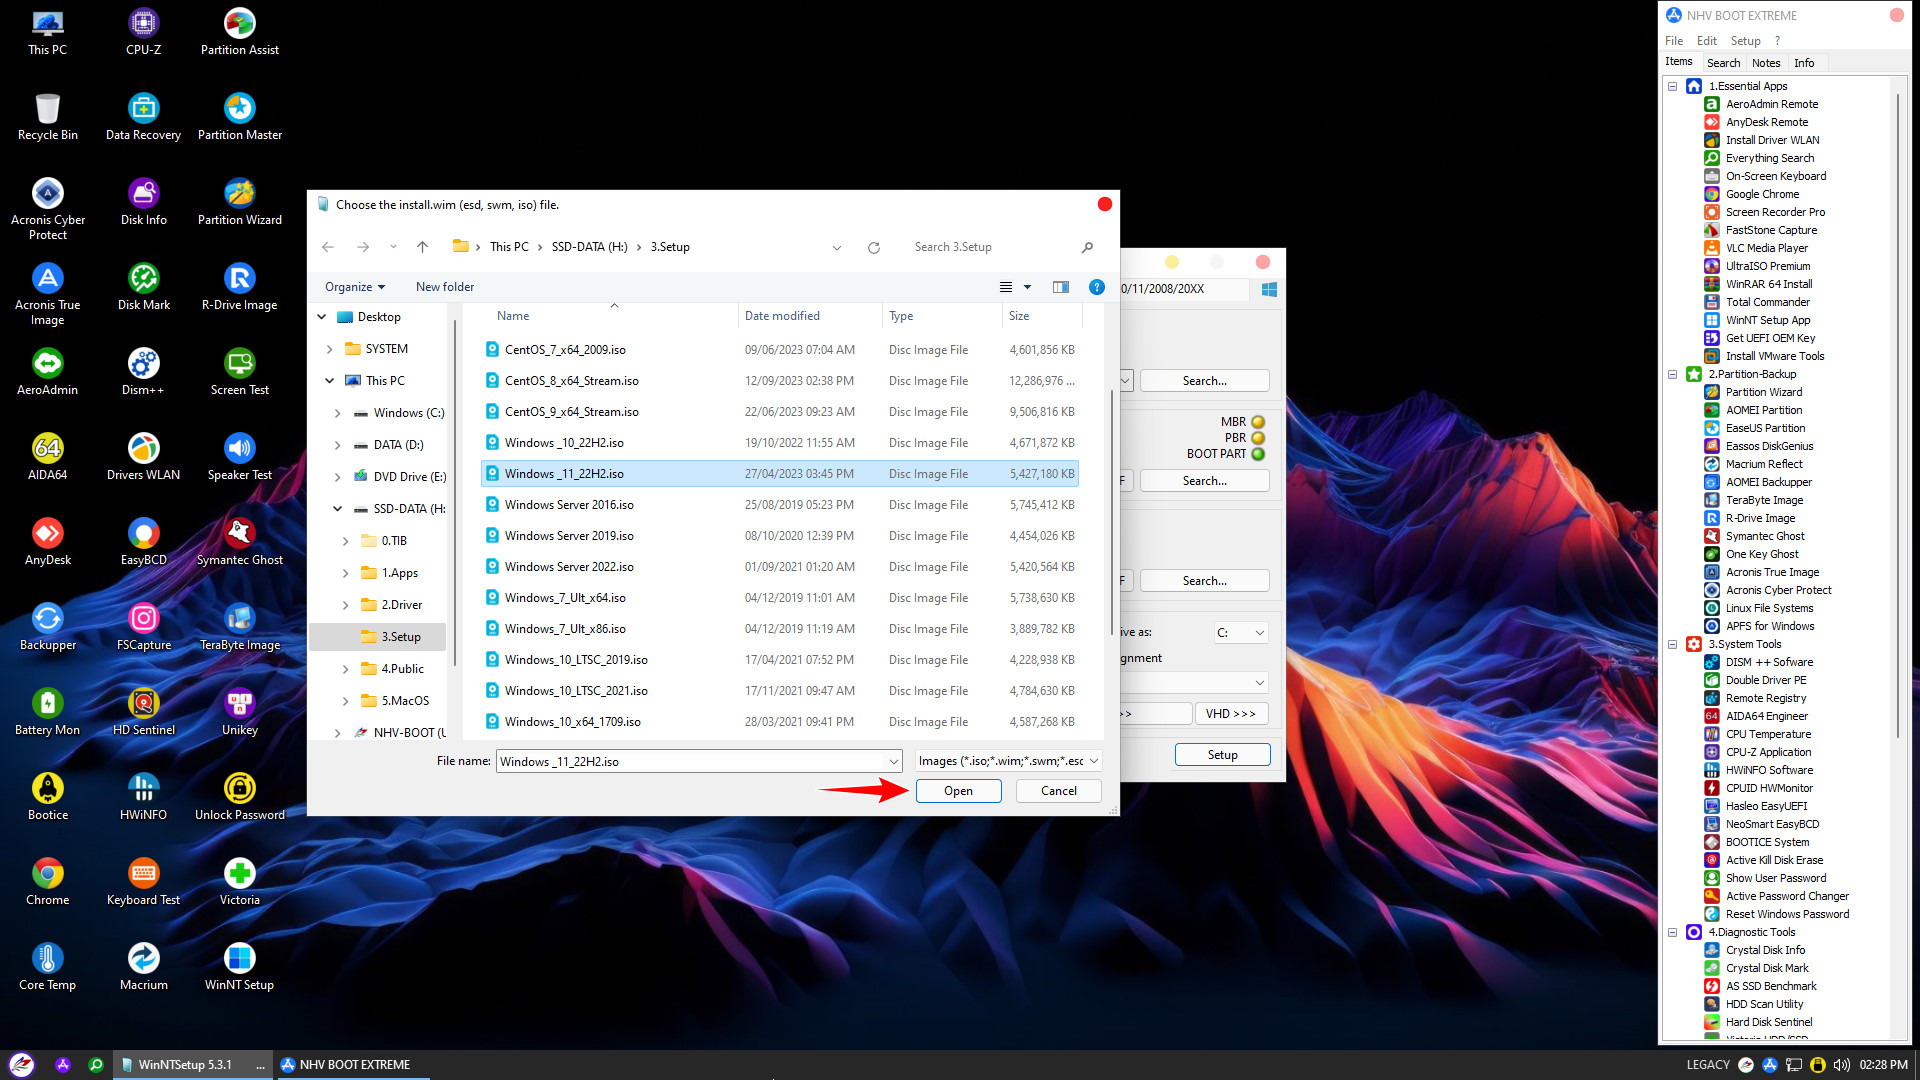
Once the Windows partition is prepared and Set Active, start the installation using WinNTSetup
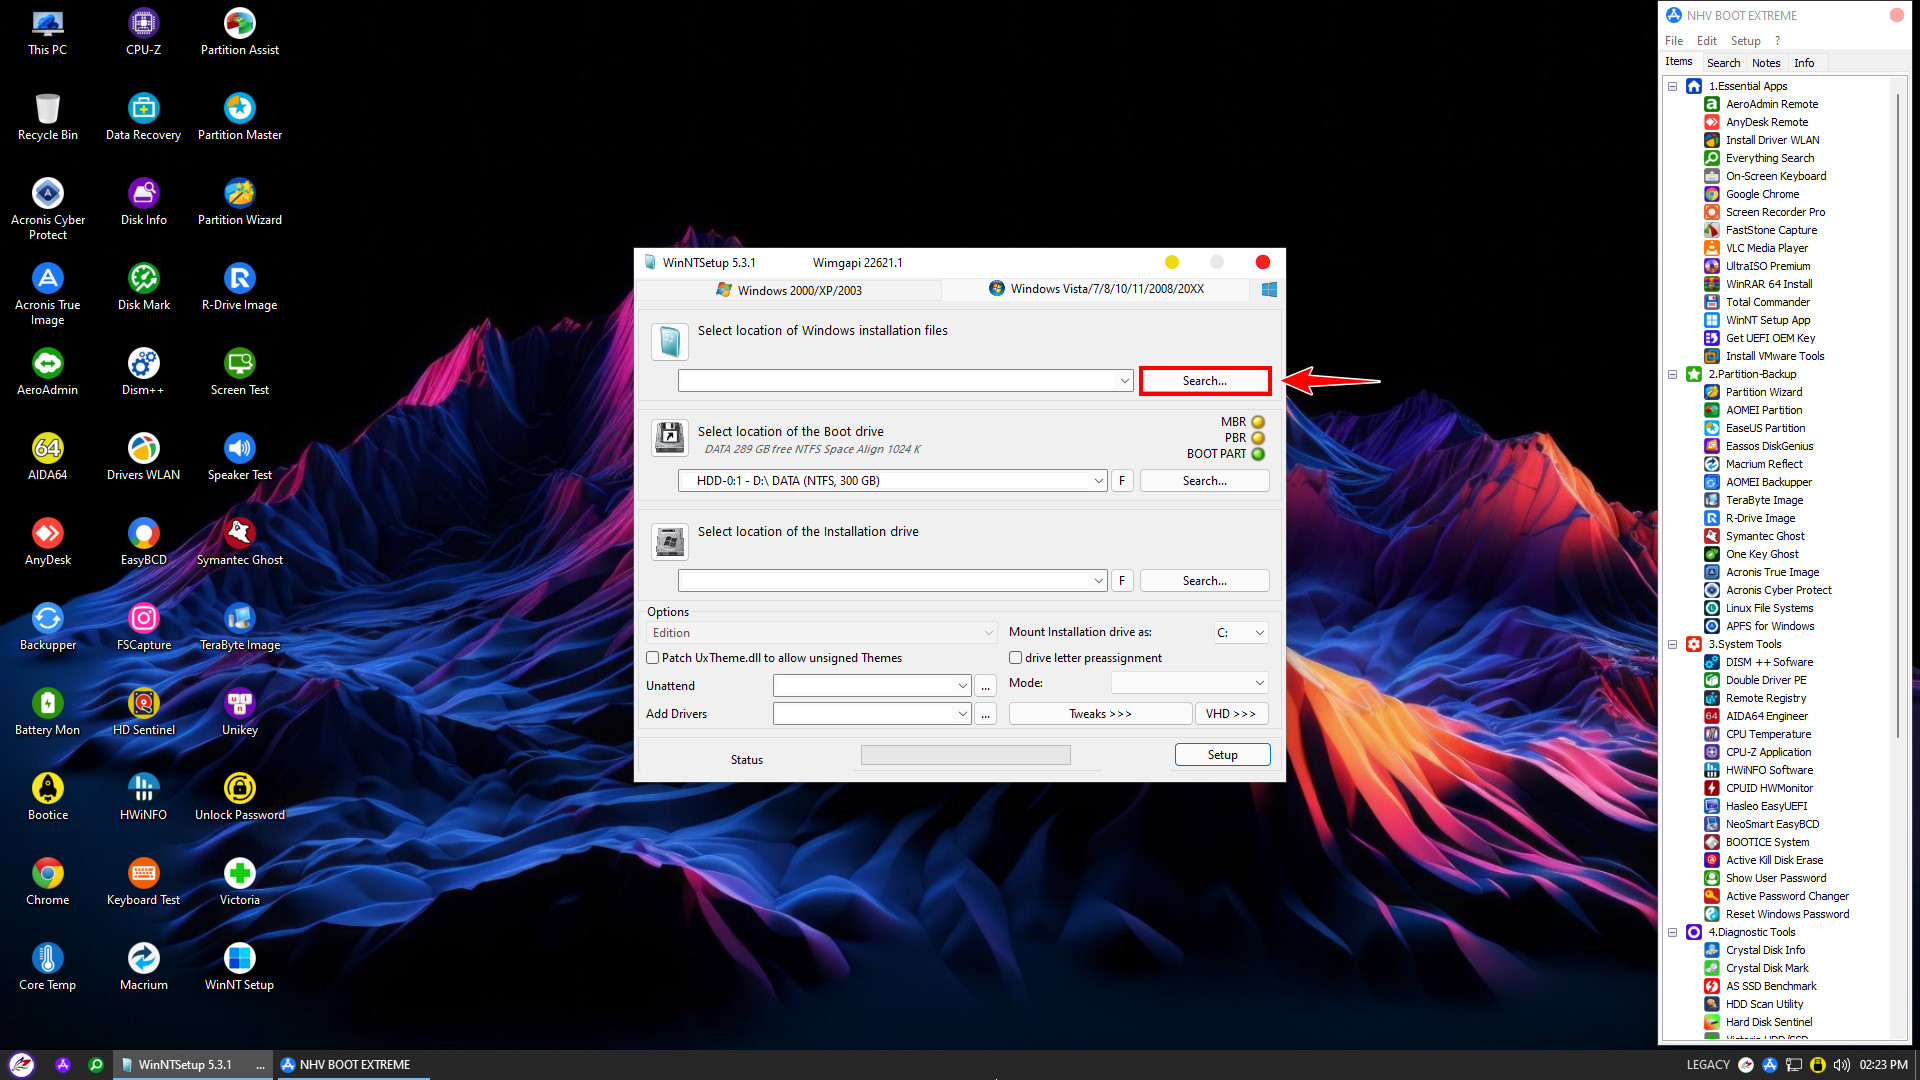


Under Options: A list of Windows editions will appear (e.g., Home, Pro, Enterprise…). Select the version that suits your needs. Check the drive letter preassignment box to ensure the system automatically assigns the standard drive letter (C:) after installation, preventing partition errors
Under Add Drivers (Important): This step is crucial for Windows to recognize hard drives on newer devices
- For Laptops with Intel Gen 11 CPUs or newer: You must select the path to the IRST (Intel Rapid Storage Technology) driver. Skipping this step causes a Blue Screen error (Inaccessible Boot Device) upon reboot due to missing storage drivers
- For Intel Gen 10 CPUs (or older) and AMD CPUs: You can skip this step as additional drivers are not required


Important Note: Do not connect to the internet during the initial Windows setup (unplug the LAN cable or skip Wi-Fi). This significantly speeds up the installation process
Once the installation finishes and the Desktop appears, proceed to install full Drivers and necessary applications
This concludes NHV BOOT’s detailed guide on installing Windows using WinNTSetup in Legacy mode. We wish you success